
This article that I wrote before.
How to make a grip for GPD WIN in English (Hand made GPD WIN Grip)
There seem to be many people referring to it.
Thank you so much guys!
The following text
That makes me feel so good,I decided to challenge to make better grip.
In making, I referred to this website.
I try to make it easy to push the L/R button of GPD WIN
The SEGA supremacy : Author Freyja
The base of grip is below.
The difference between them is only a self-stand is or not.
It seems to be hard to get the same one except in Japan.
If you can order from Amazon.co.jp or other Shopping sites,Please refer below.
These image are after the processing(upper) and before the processing(bottom) of the grip.

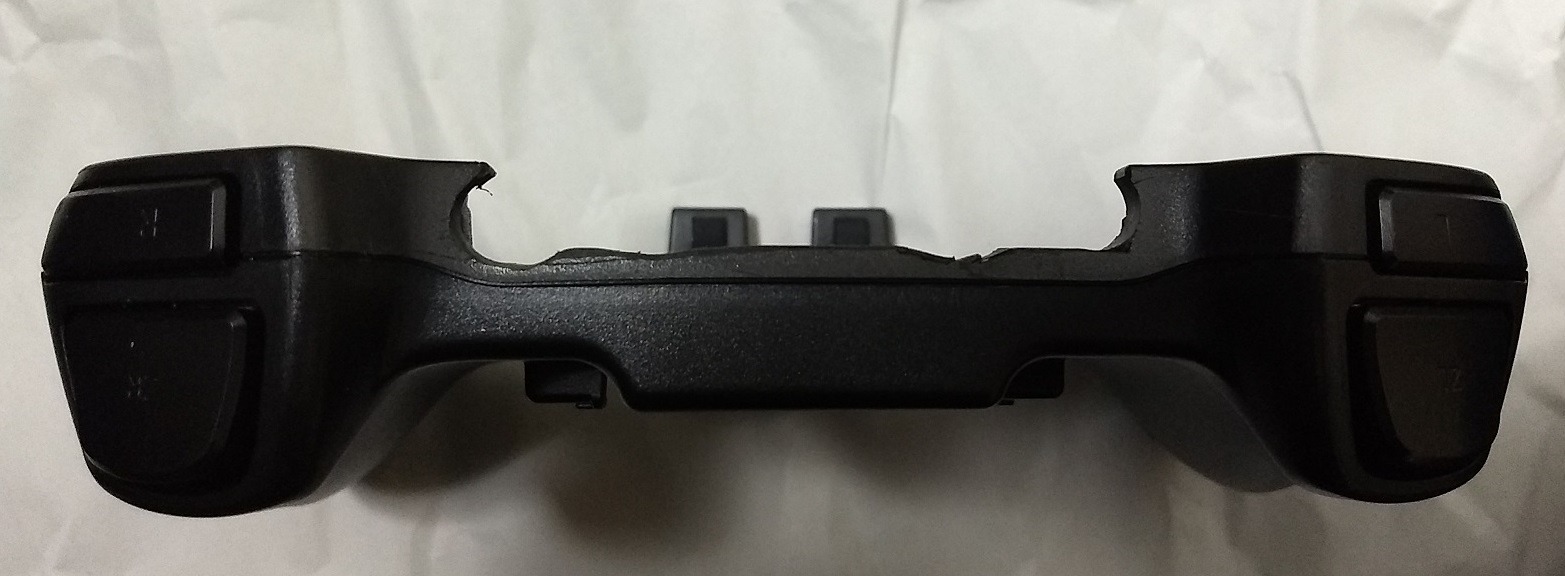
After take the grip to pieces(face side of the face),before the processing(upper) and after the proseccing(bottom).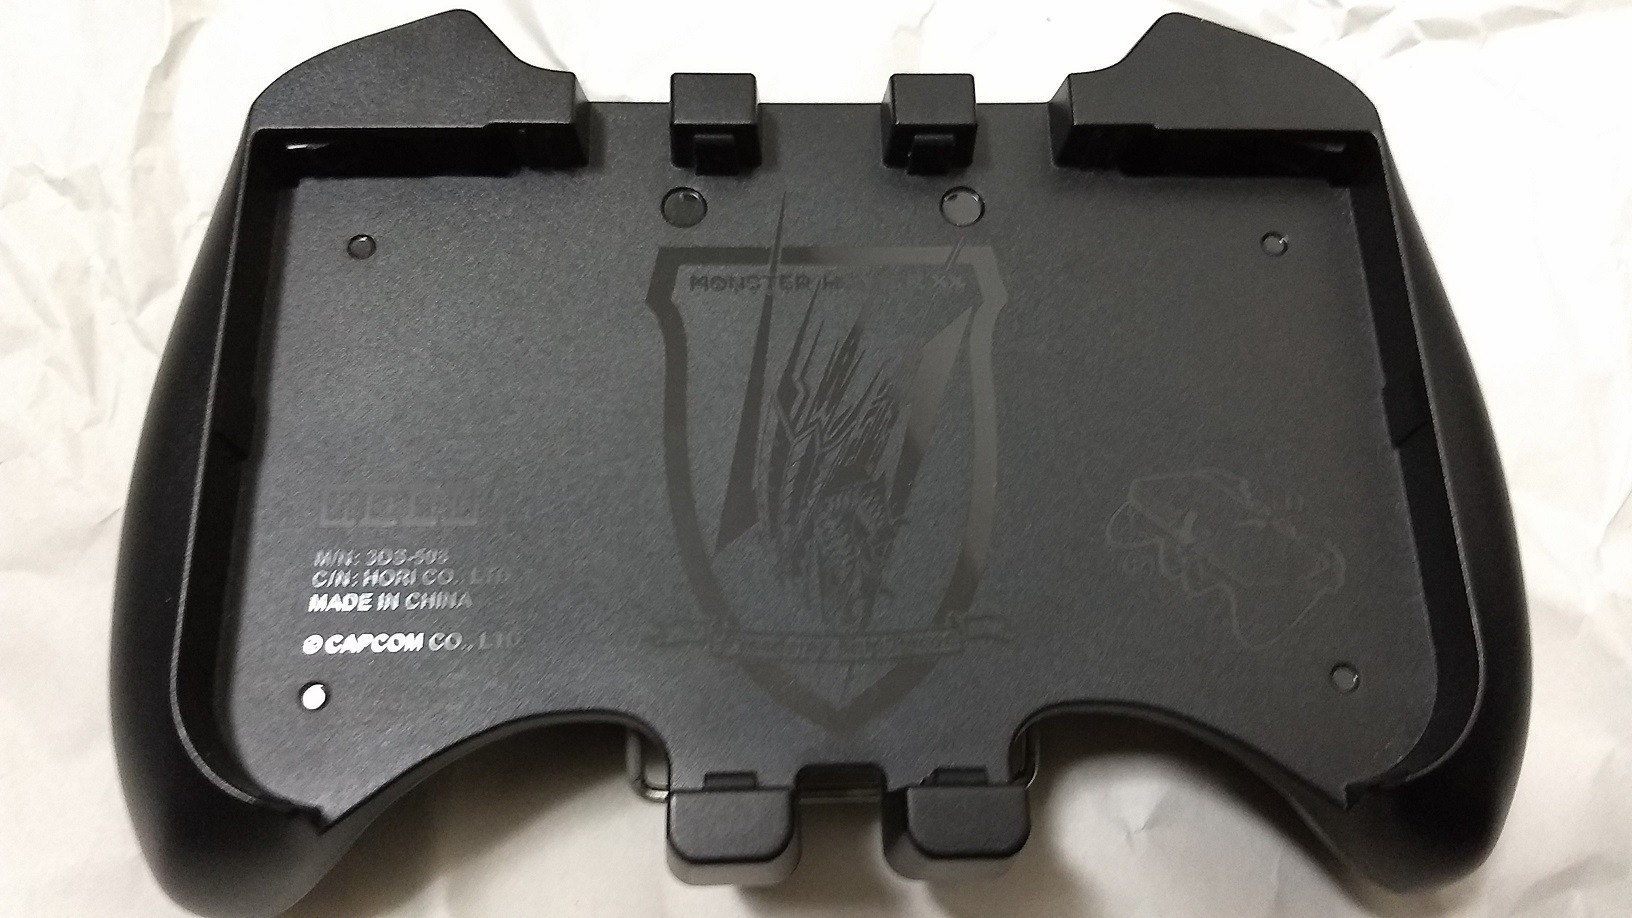
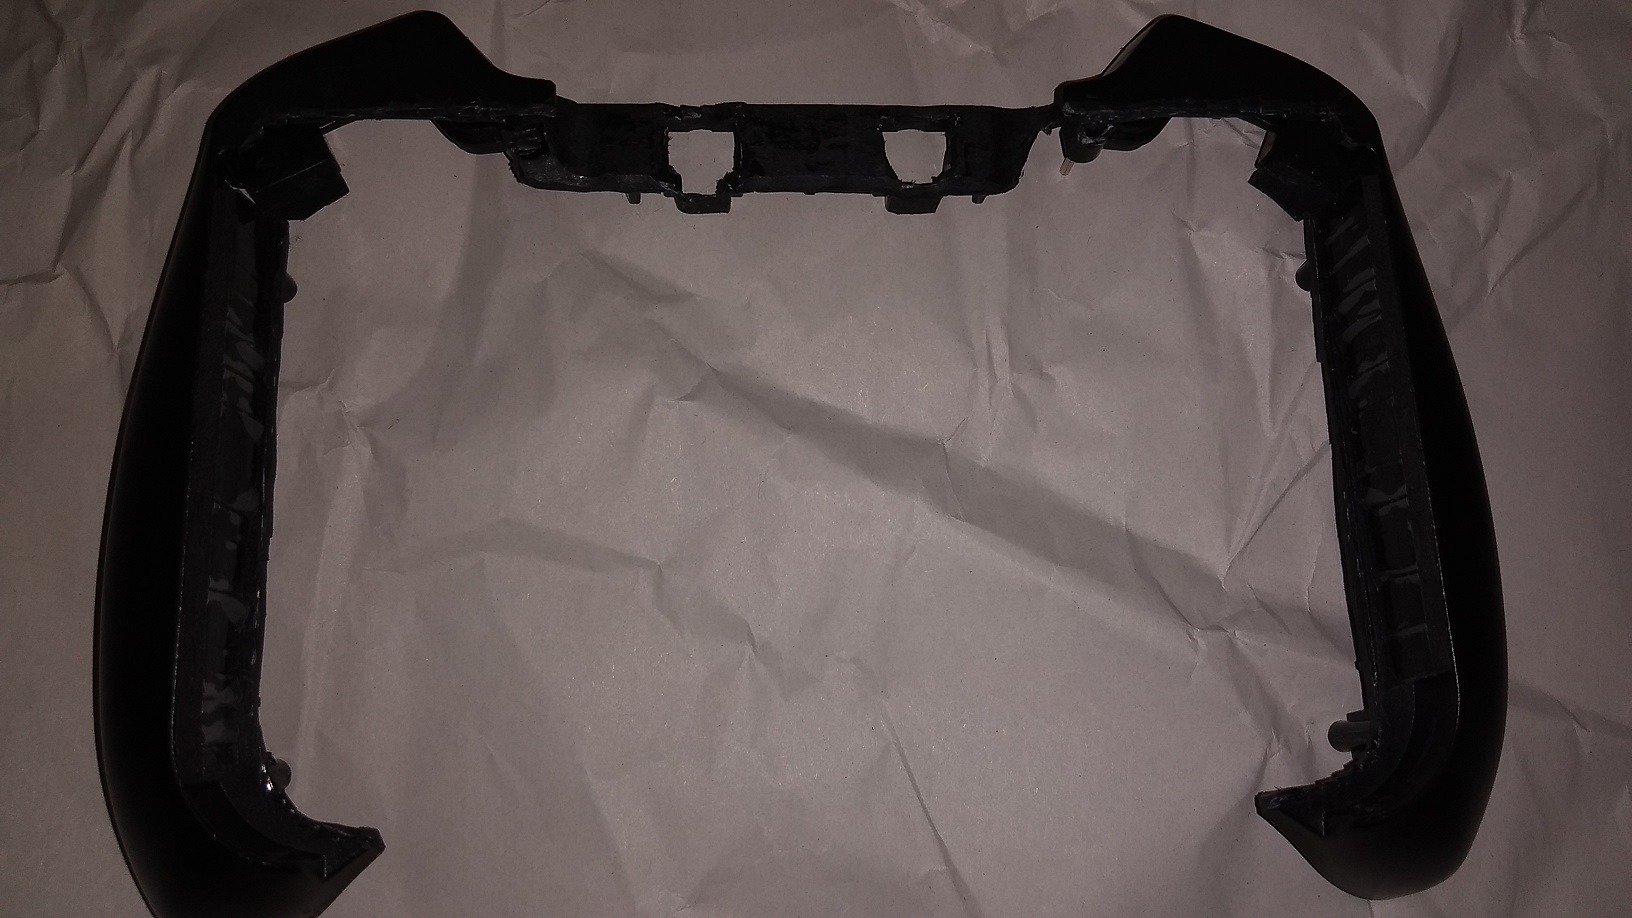
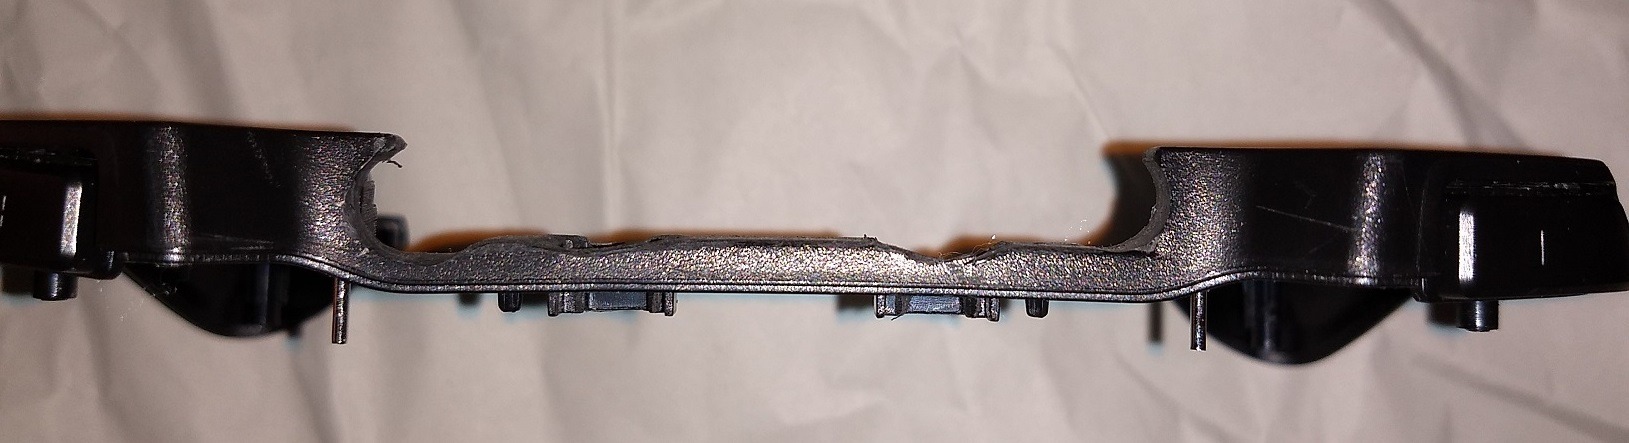
After take the grip to pieces(the back side of the face),before the processing(upper) and after the proseccing(bottom).
Please cut off the base grip like the photos above.
In the cutting, make remain 5mm both of sides(left and right).
First,make a cutting line with a cutter knife, after that cut off with nippers.
But,the plastic of the grip is too hard to cut an old nippers(I owned).
So,I bought a new nippers.
If I didn’t use it,I was not able to cut off the grip.
Amazing FUJIYA!
By the way,I use Fujiya for all the tools on my hand.
The next, it might be rare shots?
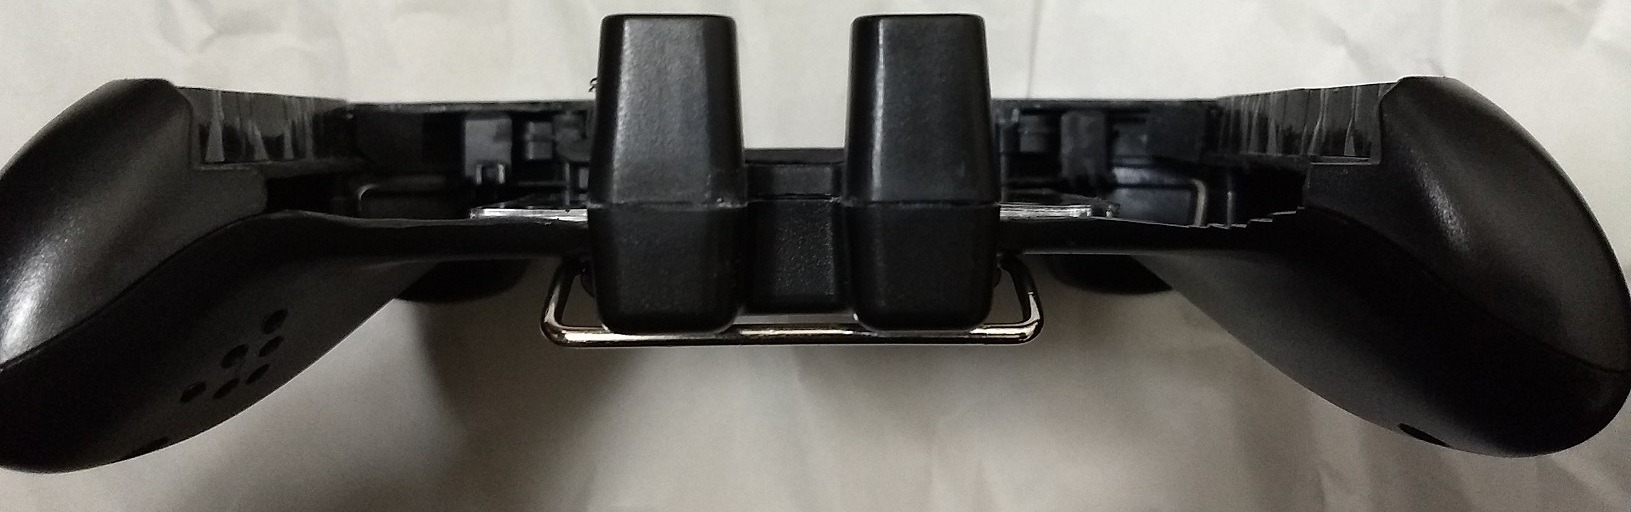
Upper side of the grip before the processing(upper) and after the processing(bottom). 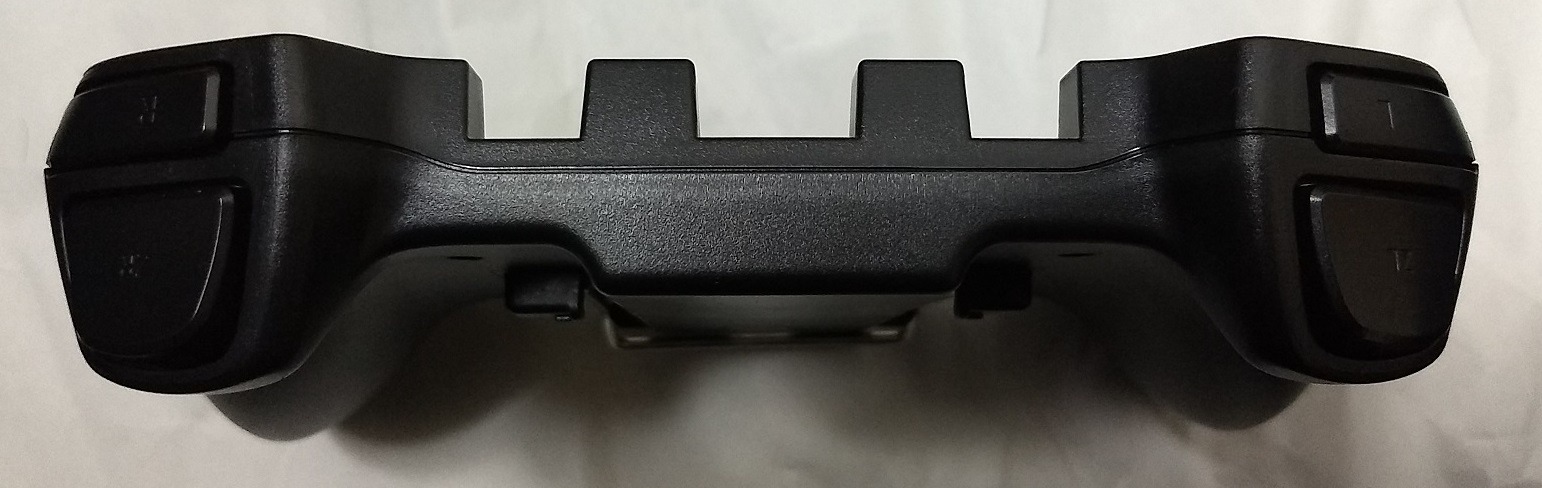
These two forms are entirely different.
I used a tool that scrape in a circle-shape to stuck a USB cable like above is below.
After you attach this bit on shock driver, scrape the grip like below. 
The shot that GPD WIN mount on.

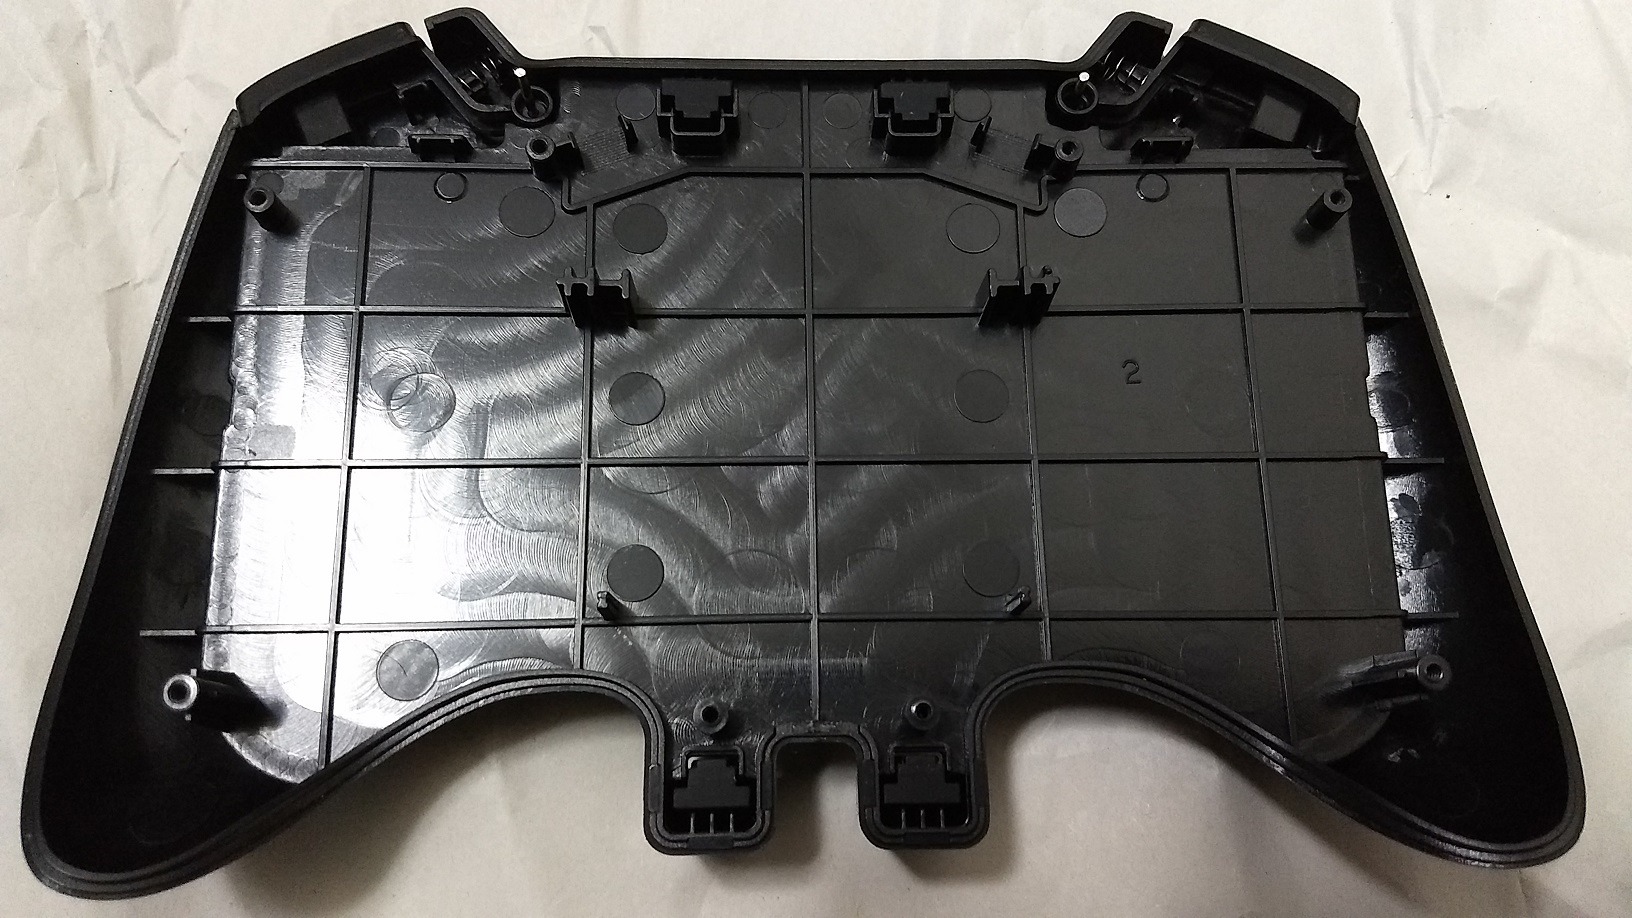
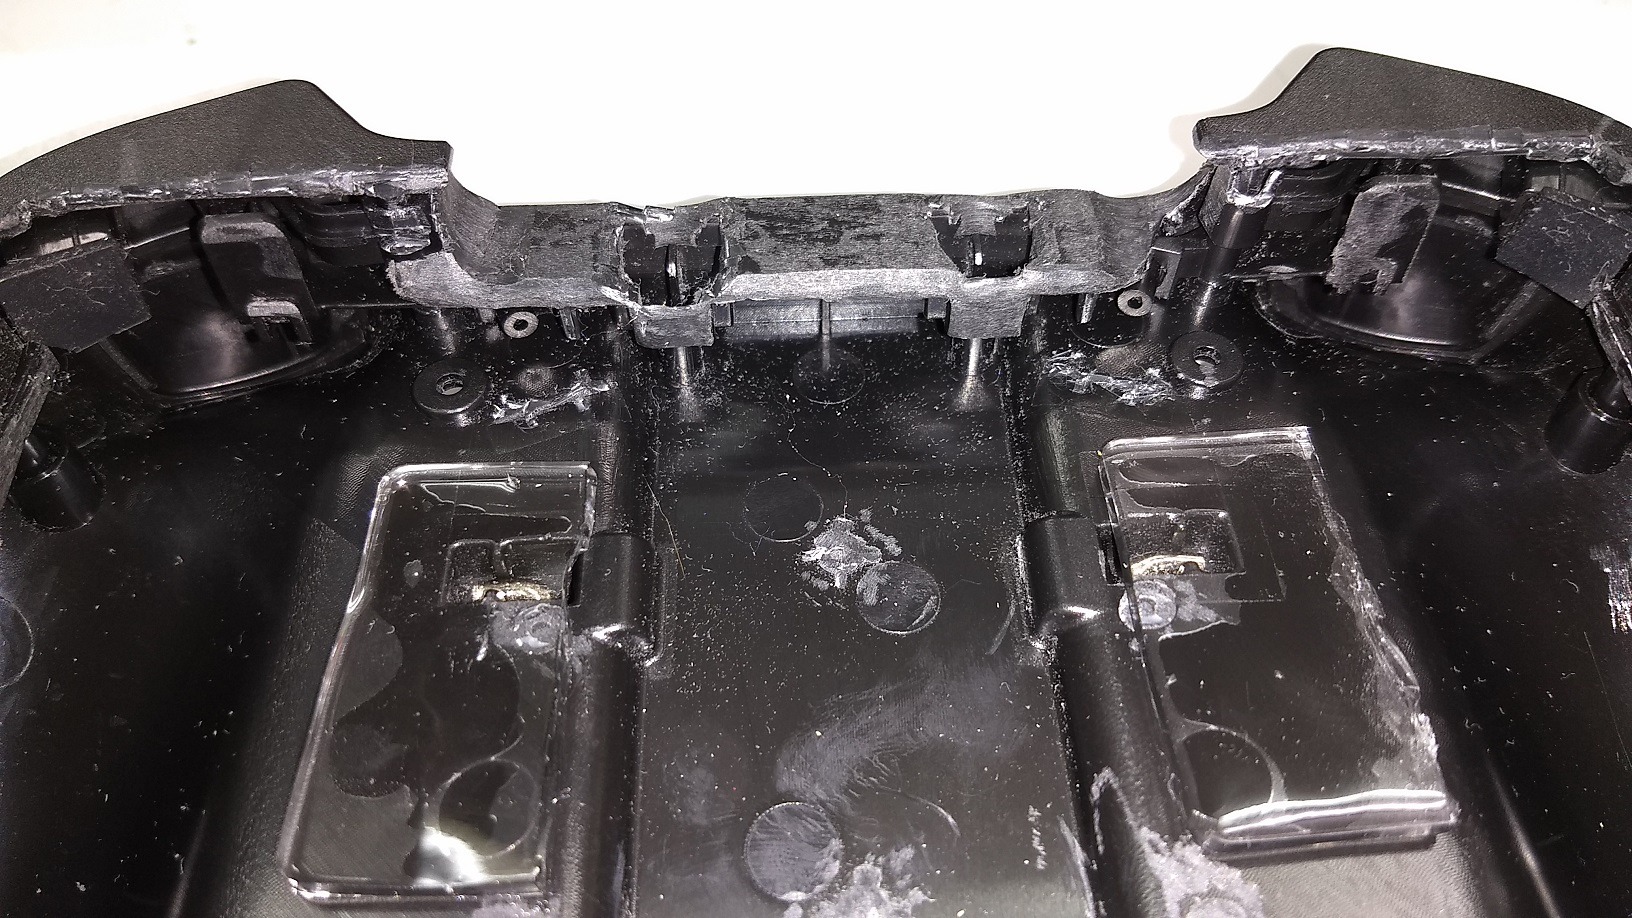
Next,after take the grip to pieces(face side of the backside),before the processing(upper) and after the proseccing(bottom).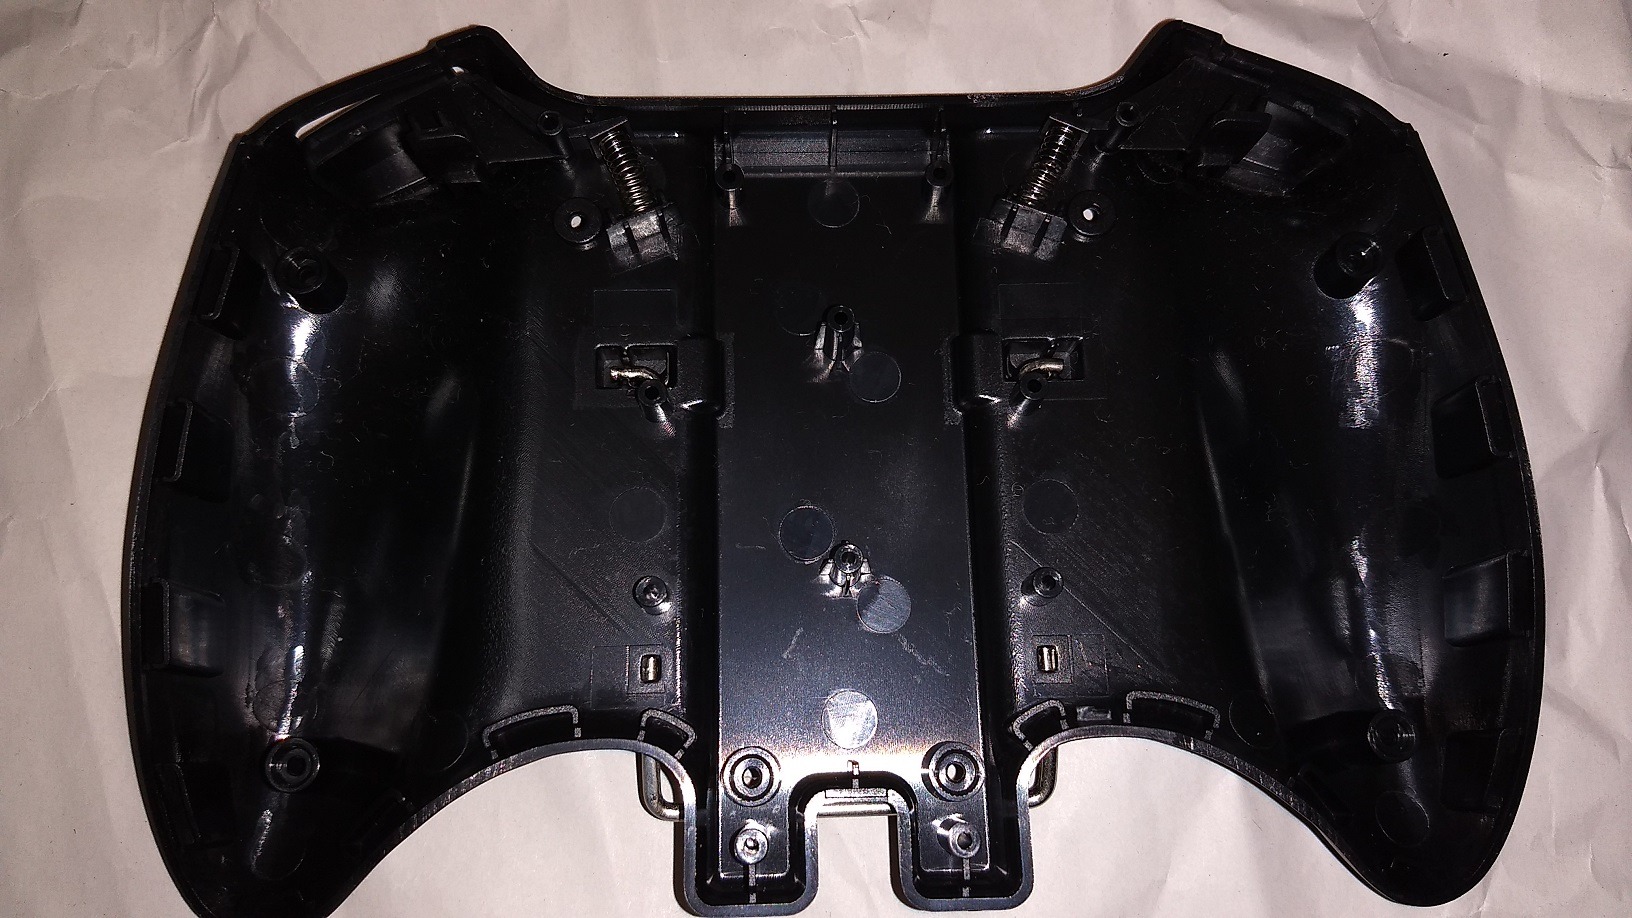
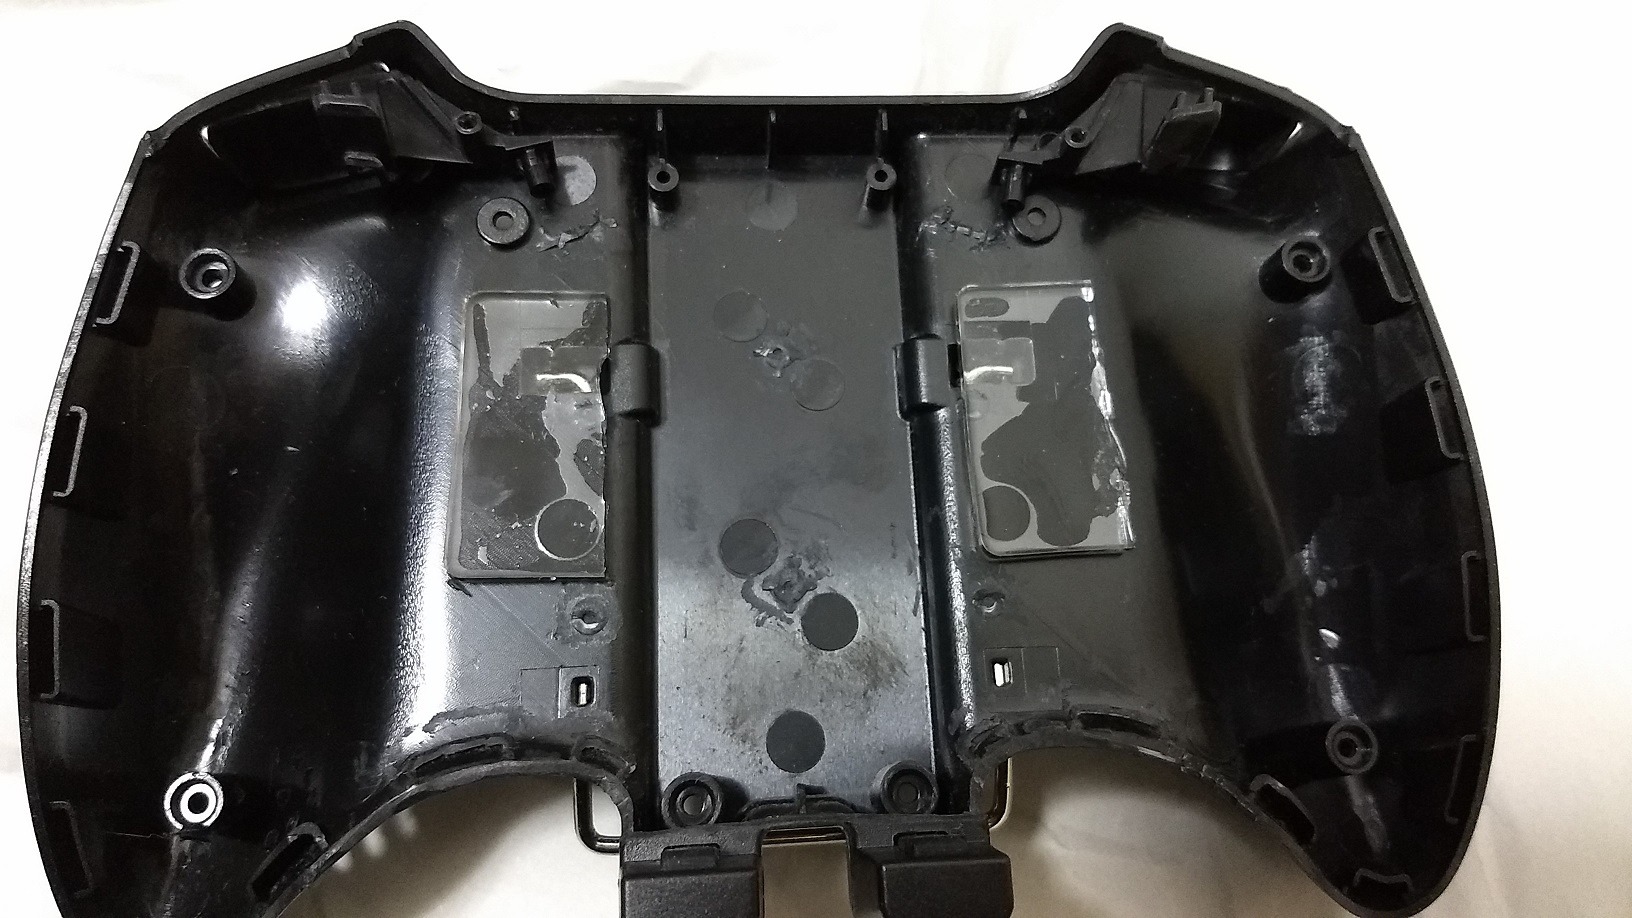
Please cut off all the small convex parts with nippers.
And the two big convex of the bottom, you can remove it.
I remained the two parts.
But,the order is
1.Cut off the parts
2.Stick on the grip with instant glue.
3.Wait for (at least) half of a day.
Actually, it’s pain in the neck.
You can fix your GPD WIN to stick a gel sheat on the bottom of the grip instead of remain the two convex.
In that way,Please select a gel sheat that adhesive strength is strong.
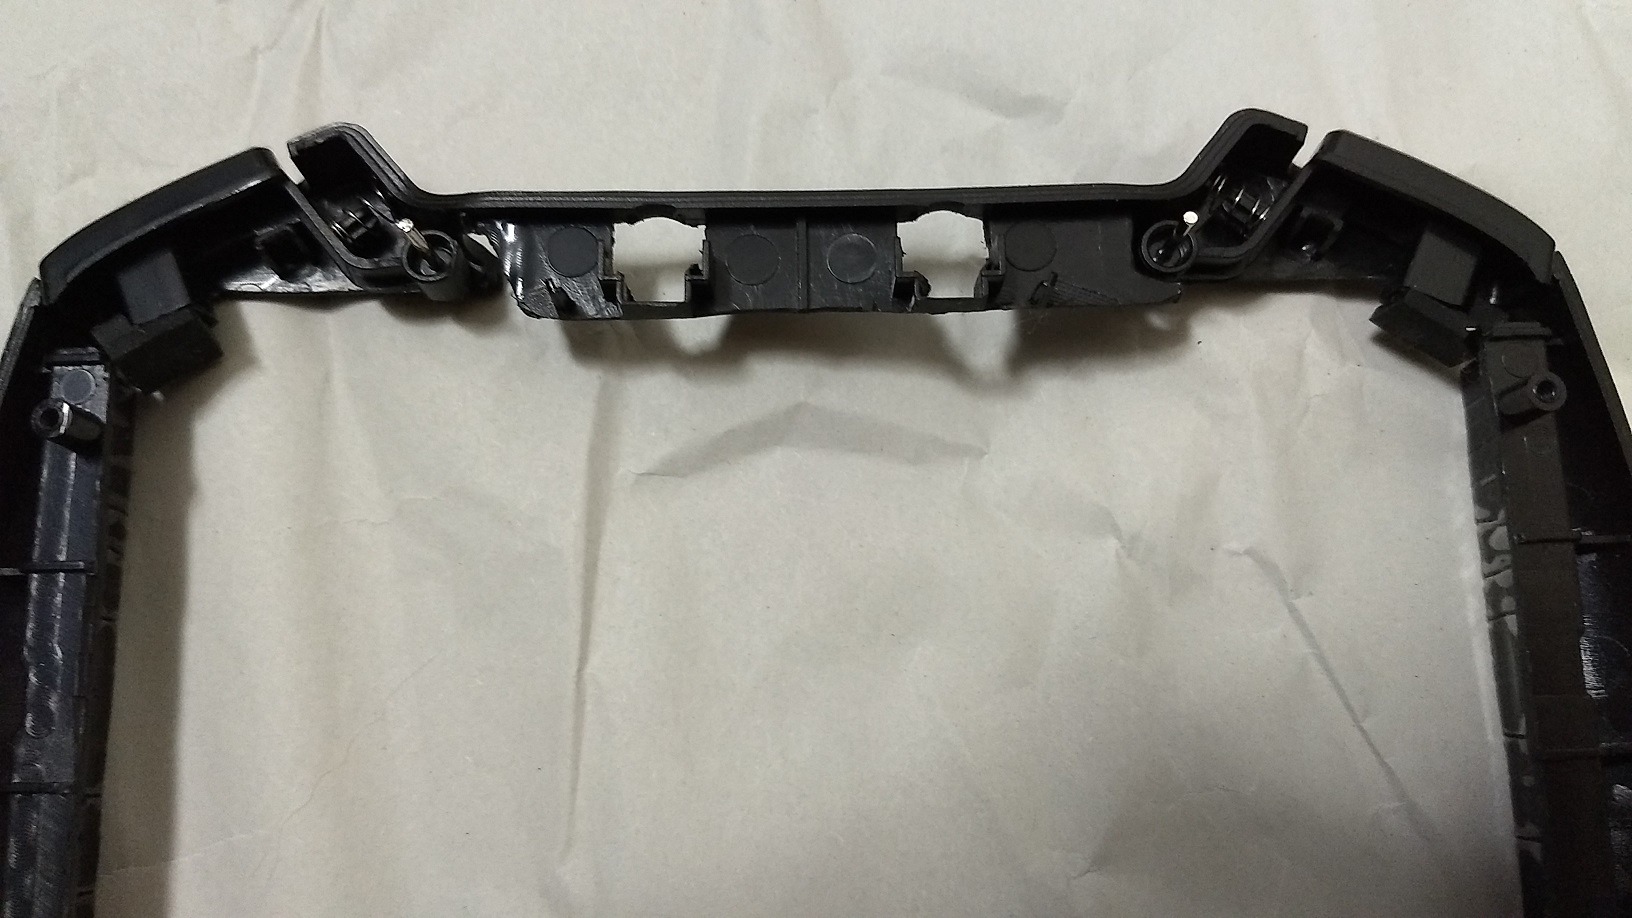
Next,the bottom side of the grip before the processing(upper) and after the processing(bottom). 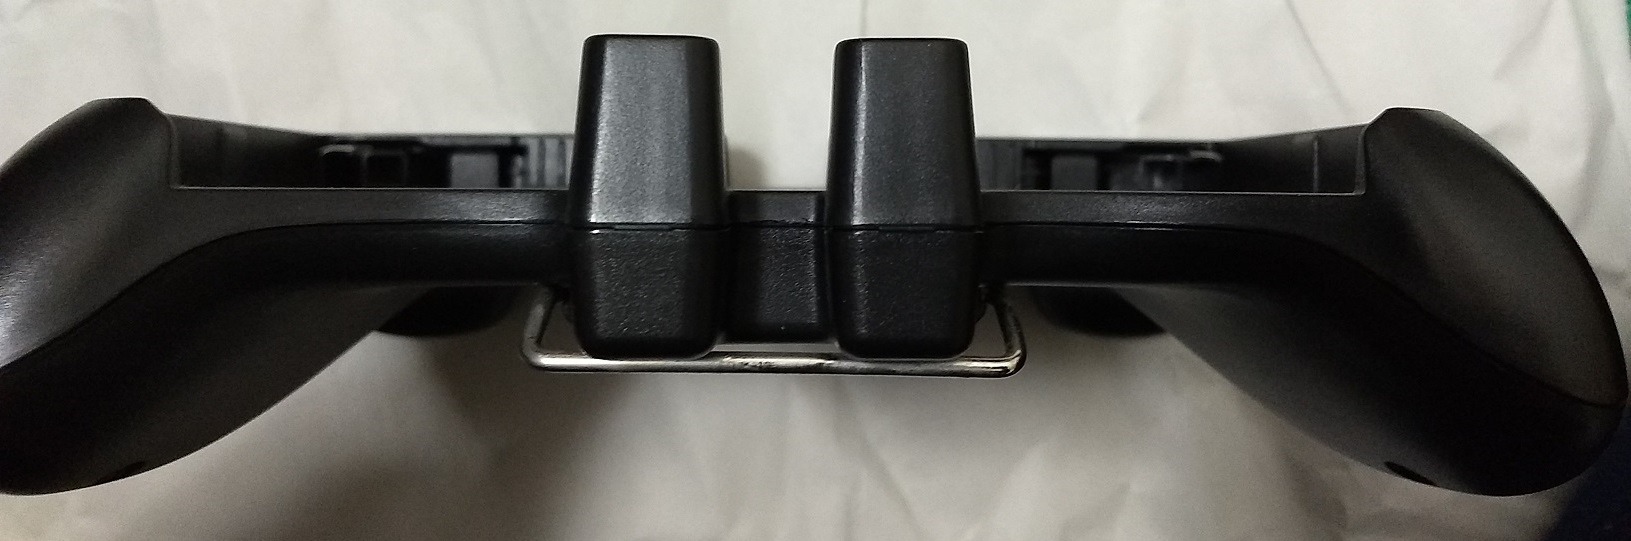
Not only cut off the face side but also bottom side.
You can do it with only nippers.
In the end,attach gum cushions on the back sides of R1/L1 button.
The rubbers that already cut off are diverted to the cushions. (Those were in the upper of the face side part.)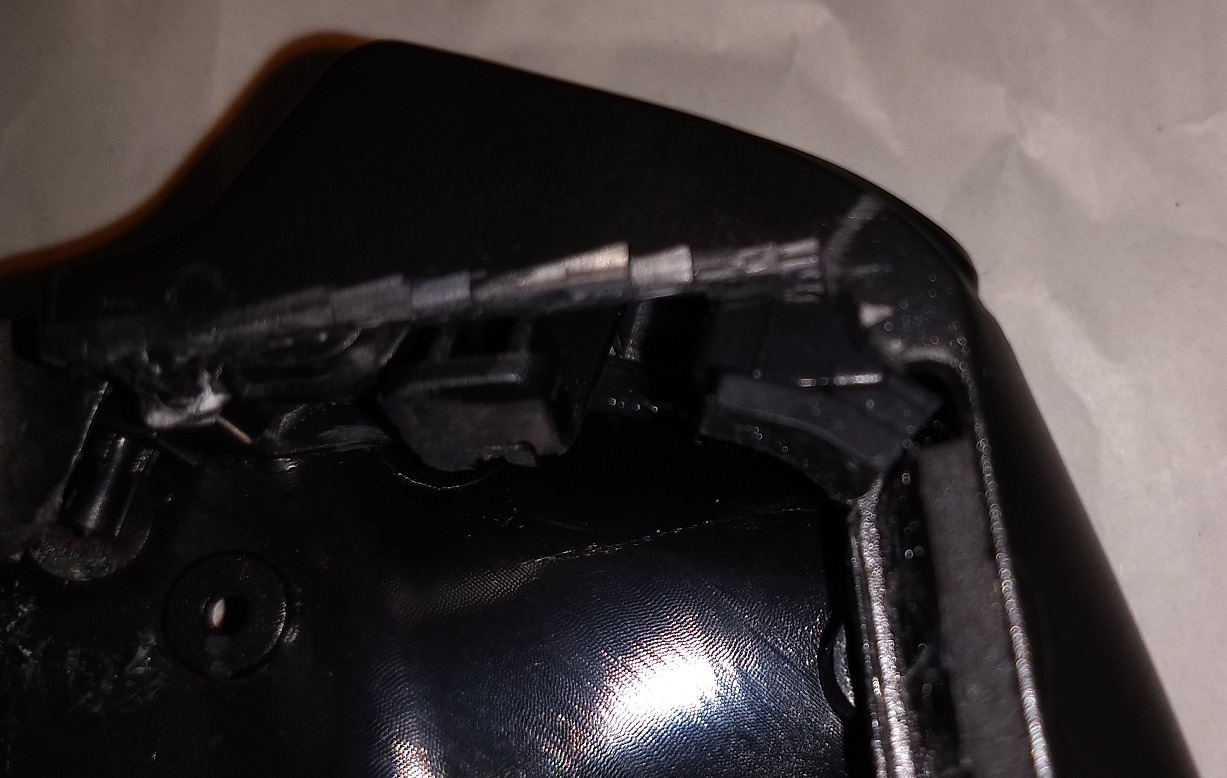
Red circled rubber parts.
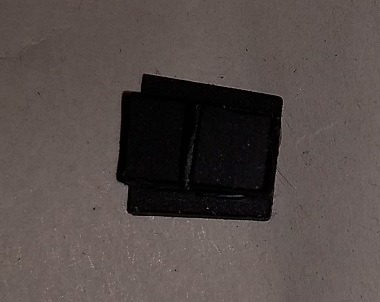
Cut in half, then cut of the 1mm width in center.
After that, set the cut rubbers on the backside of R1/L1 button,you can push those buttons firmly.
In the end of the end, made holes for ventilation on the right side of the backside of the bottom parts.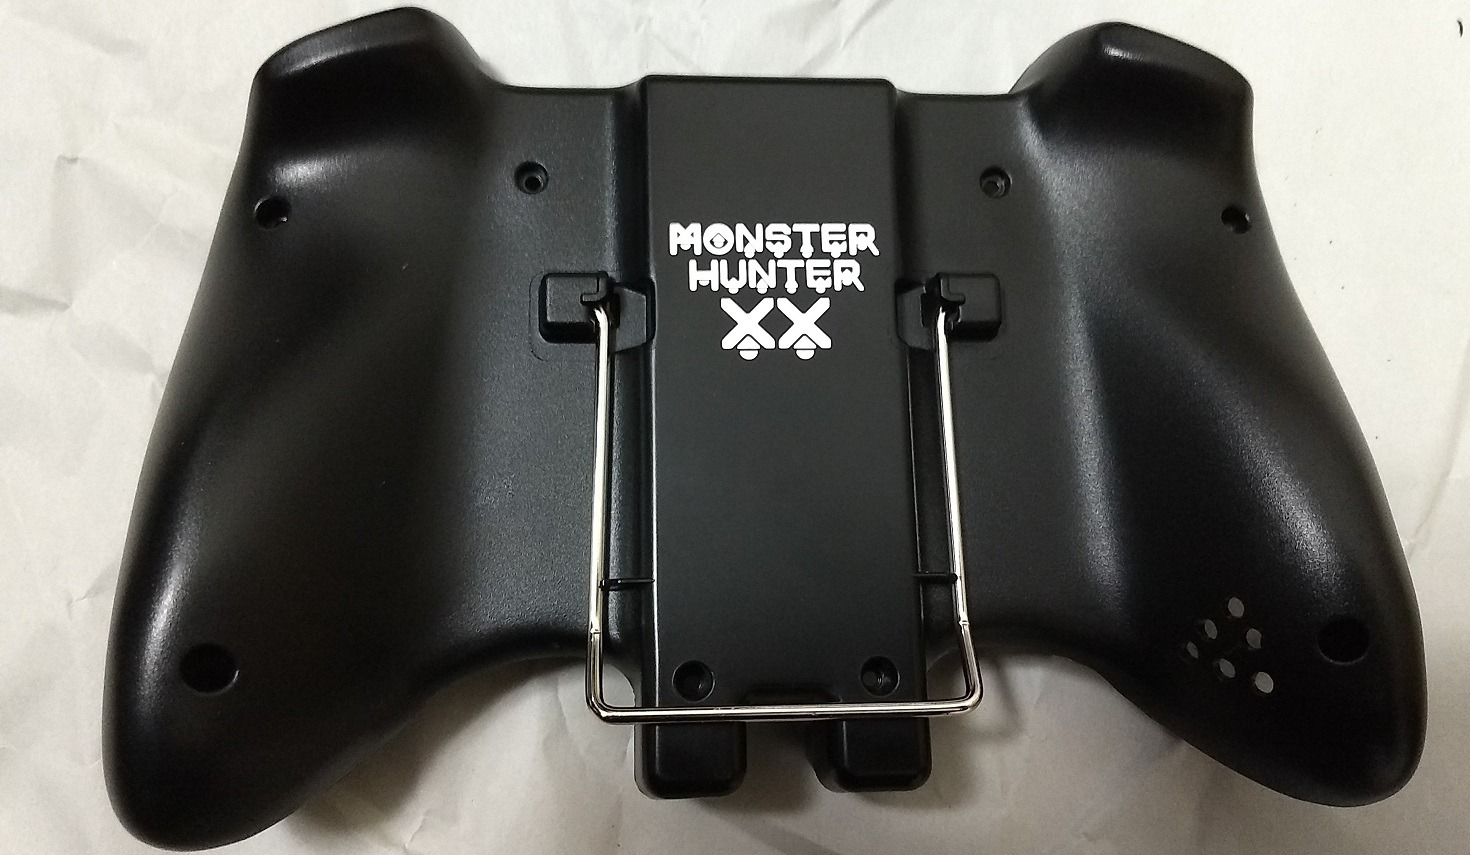
I made the 6 holes(1mm diameter) ike this photo.
I used shock driver,you can do it with pin vice.
I have explained with photos so far.
To be honest,
I never do it again even though someone ask me for $100.
That was really hard.
If you try it, please take care.
You need to prepare the certain level of tools,and take much time at least 4hours(It’s up to the level of tools).
If you are OK with that,please try it.
There are lots of people who is making it in Japan.
In the true the end,the place where the gel sheats are stick on. 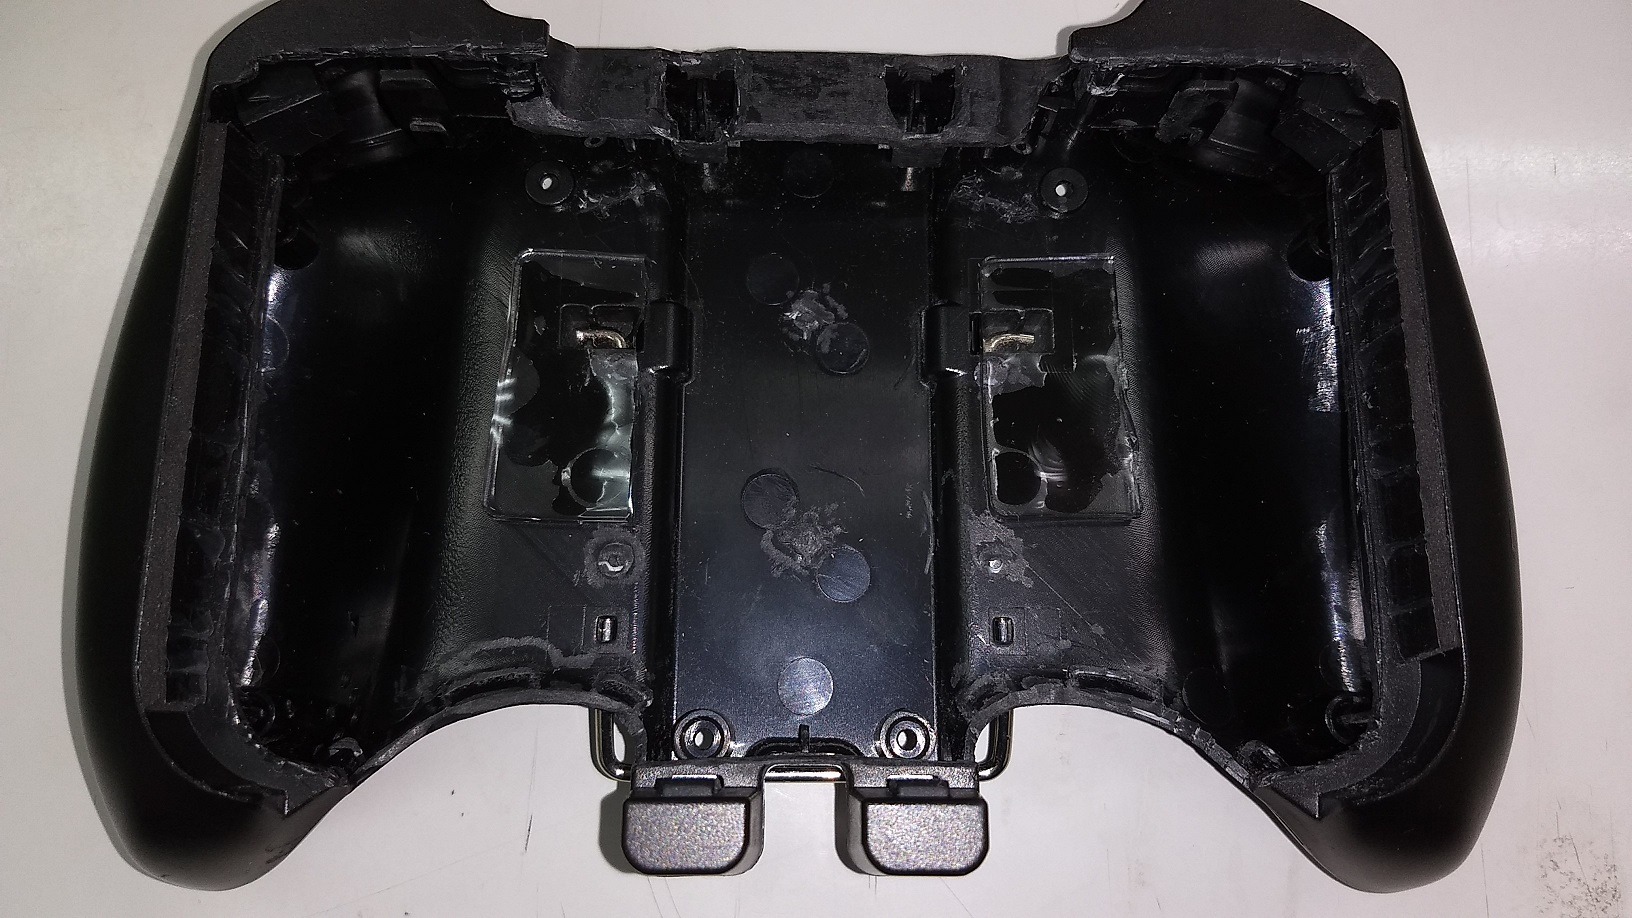
I think the adhesive strength may be just right in too strong rank.
*I’m not sure the adhesive strength ,please make sure the supplyer.*


コメント